I’m used to having CI (Continuous Integration) set up for me, and I had never taken the time to handle it for my personal projects. I decided to do it for Shoofler, and in the end, the operation is relatively simple.
I was surprised to see that GitHub provides free macOS runners (2000 free minutes, but a 10x factor applies for execution time on macOS runners, which brings us down to 200 minutes), and 500 GB of storage for artifacts (data to be retained after task execution).
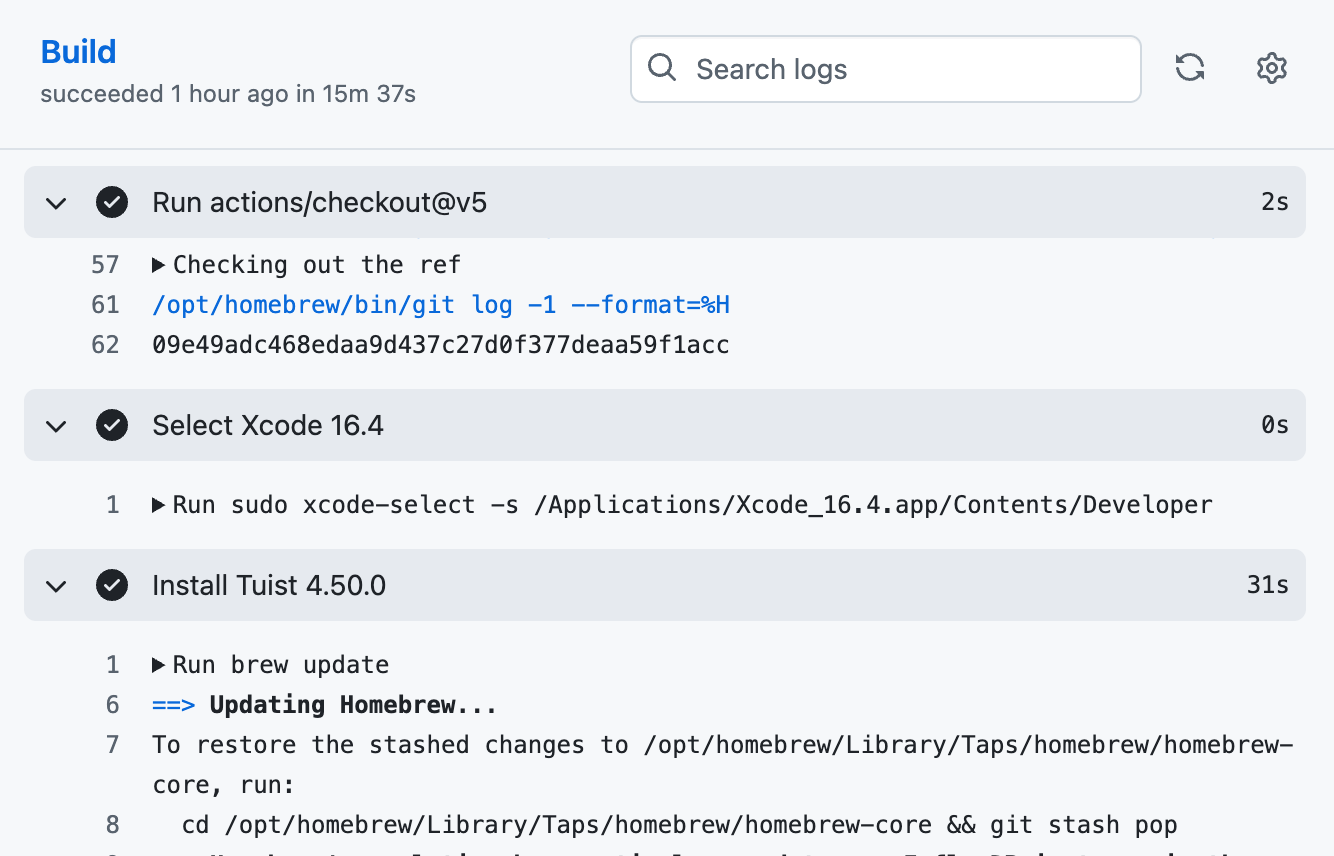
The operation proved really simple, and boils down to configuring the task in a YAML file:
- OS selection
- Xcode version selection via a predefined workflow
- Dependency installation (Homebrew, tuist)
- Project compilation
- Artifact archiving
In its first version, the YAML file for the workflow is about forty lines long, and its content is perfectly understandable.
The workflow is launched after each commit and:
- Verifies that the code compiles.
- Retrieves an (unsigned) Shoofler app bundle.
This is a first version and many improvements will come in the future, such as automating the execution of unit tests.
As for the time limitation for macOS runners on GitHub, it’s possible to self-host your own runners to get rid of this constraint. I have a Mac Mini M4 at my disposal that serves as my home server and will make a perfect host.